If you want to configure import of users and groups from an VMware VIDM (Workspace One) using OpenID Connect (OIDC) identity provider to your system organization or tenant organization, you must configure organization with OIDC identity provider. Imported users can log in to the organization with the credentials established in the OIDC identity provider.
If you're using VMware Aria Suite Lifecycle, then you will have VIDM in your infrastructure. Then why not to tie them together with Cloud Director?
Links to official docs about configuring OIDC identity source at VMware Cloud Director v. 10.5:
Official documentation for configuring OIDC access to system organization (Provider level)
Official documentation for configuring OIDC access to tenant organization (Tenant level)
Those docs are not differs too much, but we need to point some attention to point 8.b - and we will show you how to make this config start working in terms of Groups and Users from VIDM catalog.

URL endpoints for Client Configuration Redirect URI is differing only in last part:
Some context and URLs that we will need to mark down:
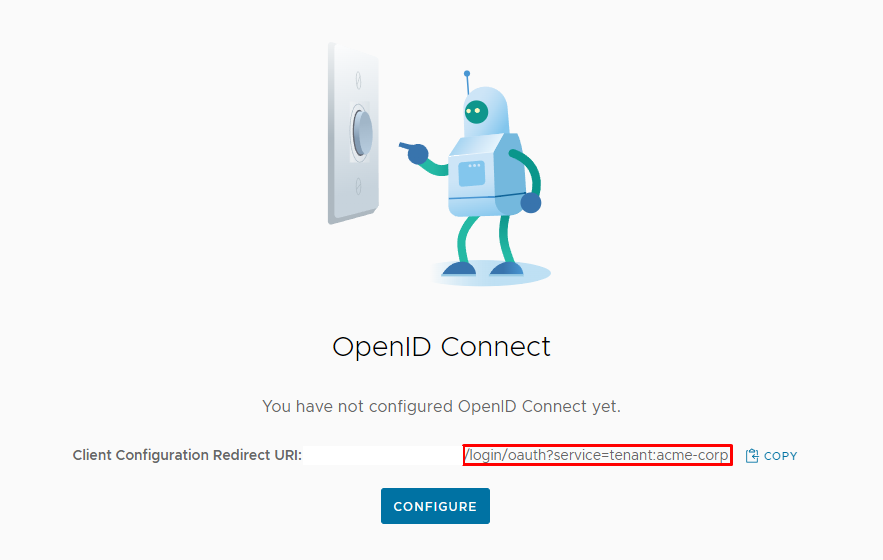
- VMware Cloud Director Client Configuration Redirect URL for Tenant Organization: https://VCD-FQDN/login/oauth?service=tenant:acme-corp
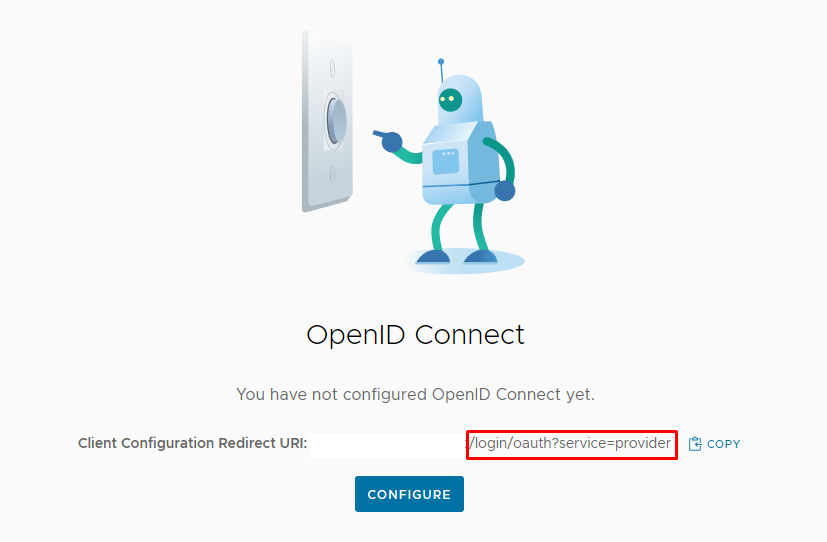
- VMware Cloud Director Client Configuration Redirect URL for Provider level:
https://VCD-FQDN/login/oauth?service=provider - VMware Cloud Director Target URL (VIDM Application configuration):
https://VCD-FQDN/tenant/acme-corp/ - VMware Cloud Director Redirect URL (VIDM Application configuration):
https://VCD-FQDN/login/oauth?service=tenant:acme-corp - VIDM IDP well-known Configuration Endpoint
https://VIDM-FQDN/SAAS/auth/.well-known/openid-configuration - VIDM User Authorization Endpoint
https://VIDM-FQDN/SAAS/auth/oauthtoken - Access Token Endpoint
https://VIDM-FQDN/SAAS/auth/oauth2/authorize - VIDM Issuer ID:
https://VIDM-FQDN/SAAS/auth - VIDM Endpoint
https://VIDM-FQDN/SAAS/jersey/manager/api/userinfo - VIDM Key Refresh Endpoint
https://VIDM-FQDN/SAAS/API/1.0/REST/auth/token?attribute=publicKey&format=jwks
Where:
- VCD-FQDN = your public VMware Cloud Director URL
- acme-corp = Tenant Organization name
- provider = Provider level of Cloud Director
- VIDM-FQDN = your VMware Workspace One (VIDM) URL
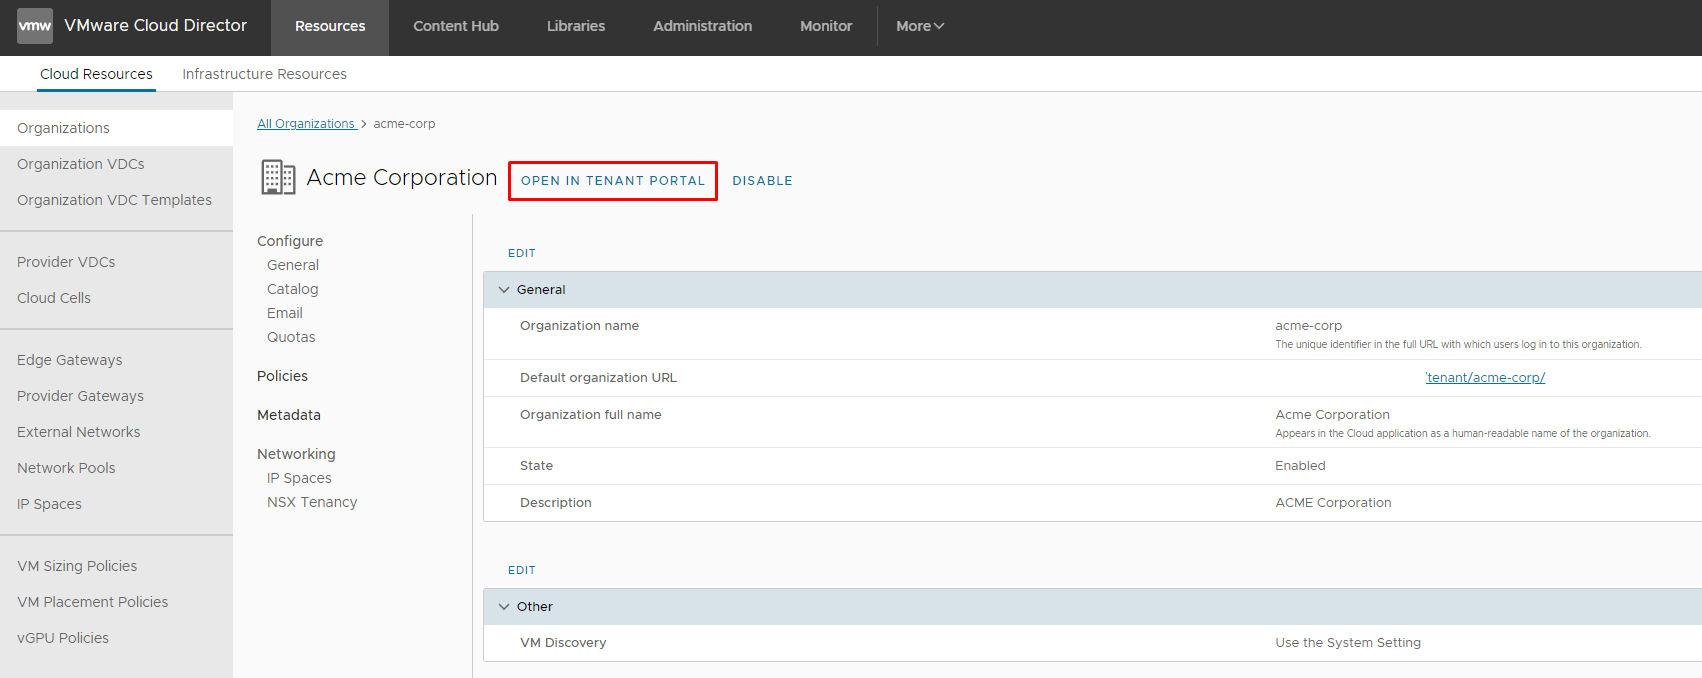
Let's take, tenant organization called "acme-corp". We will enable OIDC authentication and add a group called GADM-Network-Admins@domain.name as Organization Administrator.
You can do that operation directly for tenant org at Portal level using Organization administrator account or from Provider portal using System administrator account. In our screenshot, we're opening Org object from Provider level.
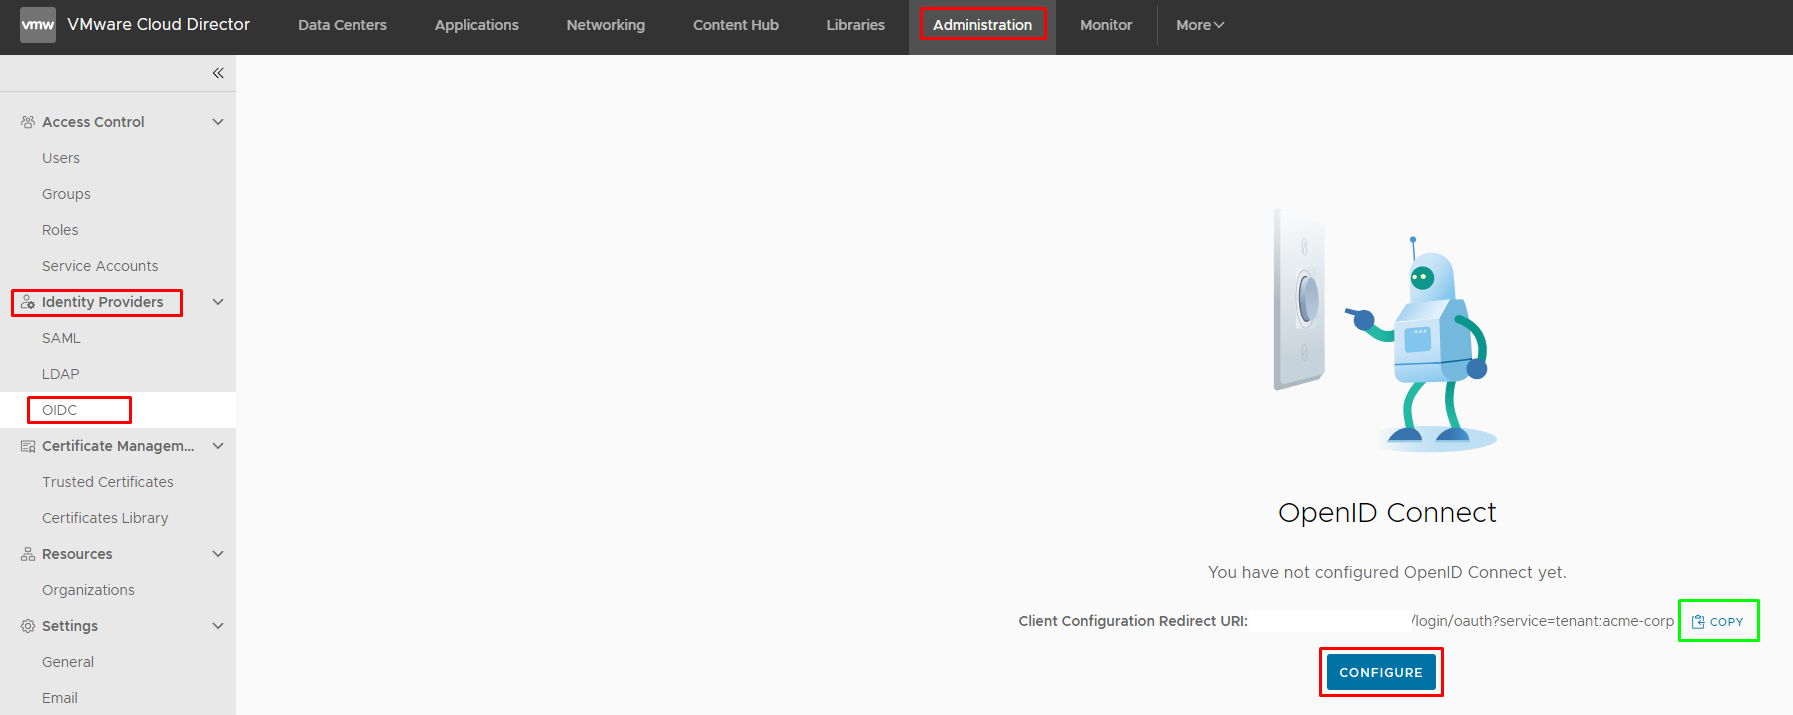
Then Go to Administration → Identity Providers → OIDC and click Configure (don't forget to copy Client Configuration Redirect URL - we will use it in VIDM configuration!):
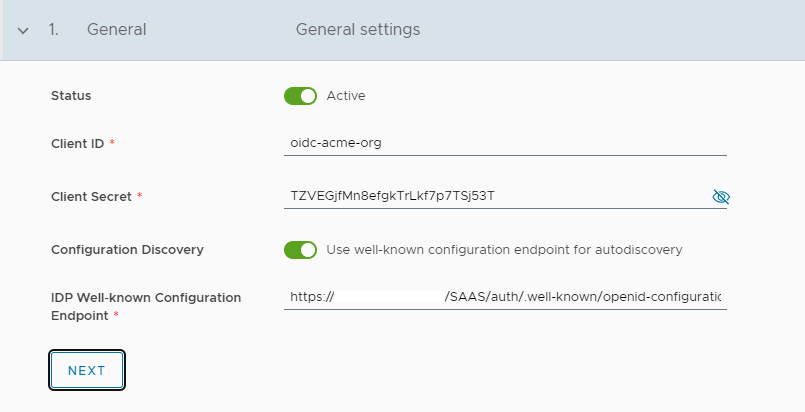
In new wizard of Configuration OpenID Connect we need to turn toggle Status to Active position, add Client ID and Client Secret (save them, we will use them at VIDM configuration). Firstly, turn on Configuration Discovery and use URL for IDP Well-known Configuration Endpoint - https://VIDM-FQDN/SAAS/auth/.well-known/openid-configuration and click Next.
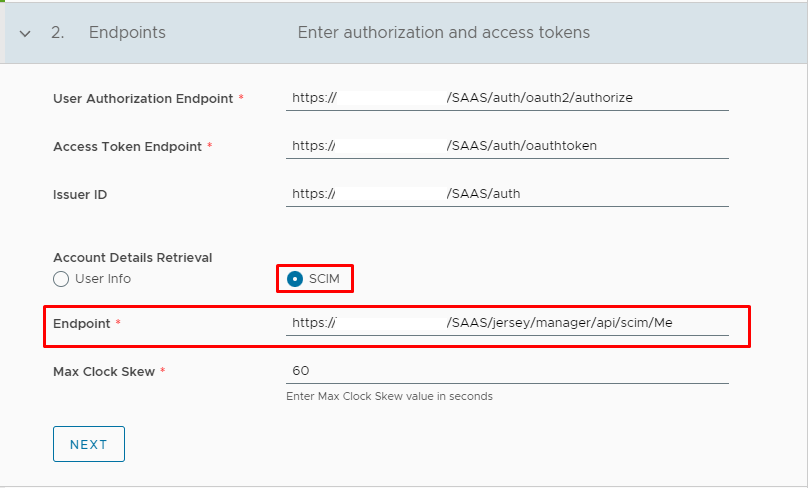
Behind the scenes Cloud Director should try to get info from VIDM using that endpoint URL and automatically fill info inside fields User Authorization Endpoint, Access Token Endpoint, Issuer ID and Endpoint. We need to choose SCIM as Account Details Retrieval and change Endpoint.
https://VIDM-FDQN/SAAS/jersey/manager/api/userinfo
to value:
https://VIDM-FDQN/SAAS/jersey/manager/api/scim/Me
Without that change population of the Members of the Groups will not work!
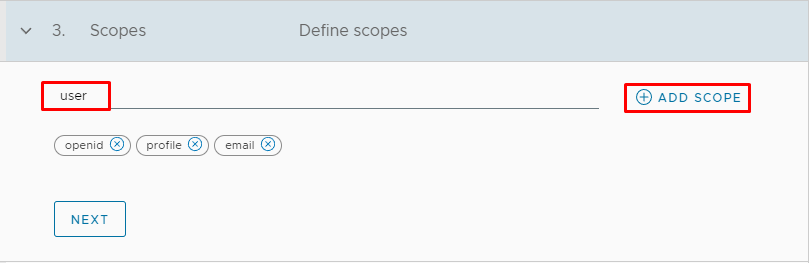
Click Next and you need to scope with name "user" and click + ADD SCOPE button
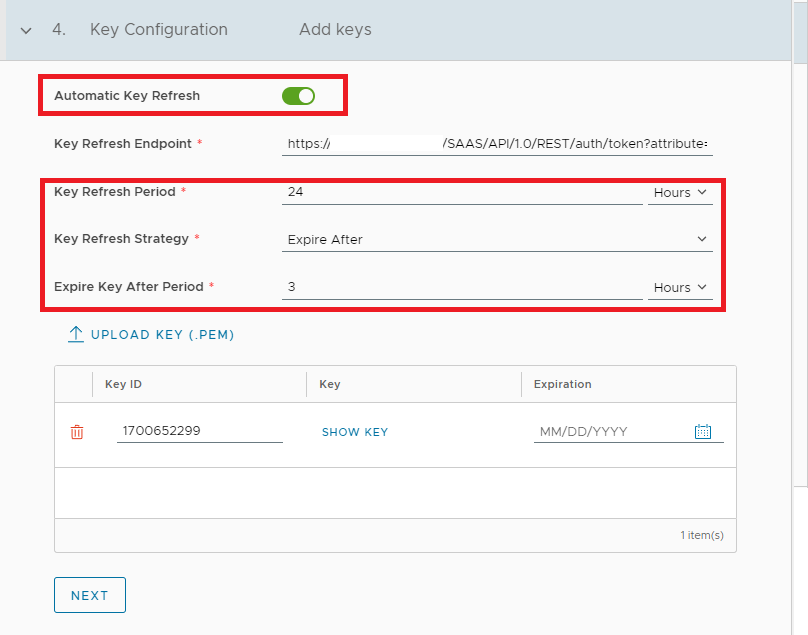
Because we were using well-known configuration, the Key refresh endpoint and the Key is added automatically. Only thing we need to do is to enable Automatic Key Refresh and specify Key Refresh Period time and Strategy for Key refresh. In our example, we will use 24 hours as Key Refresh Period and Strategy Expire After 3 hours and click Next.
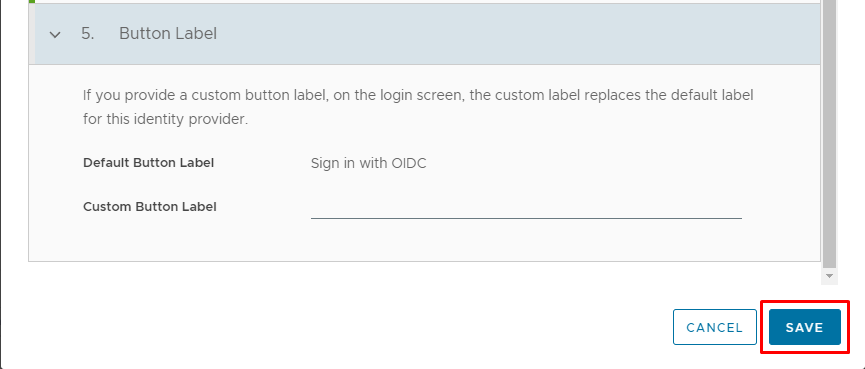
We can modify default button with Custom label, and we will finish our configuration at Cloud Director side with clicking button SAVE.
After finishing configuration, you will see that Status of OpenID Connect changed to Active.

Let's map our group inside Access Control → Groups. First time when you will go there, you will wonder: "How can I add groups if there are no buttons here?" No worries, refresh the page, and you will see desired button IMPORT GROUPS

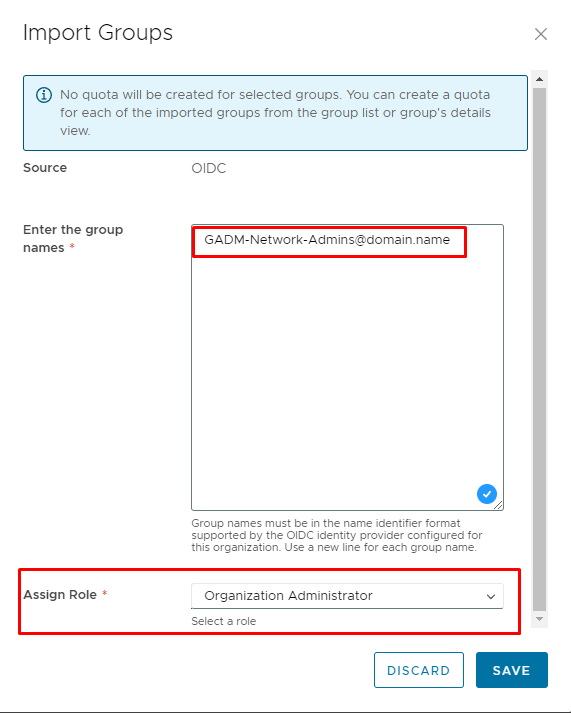
Cloud Director automatically adds OIDC as Source (if you don't configure another sources like LDAP, SAML - if yes, then choose the OIDC from drop-down menu) and inside field Enter the group names that you want to add. Use a new line for each group name. Also, you need to assign role, like Organization Administrator and click Save:

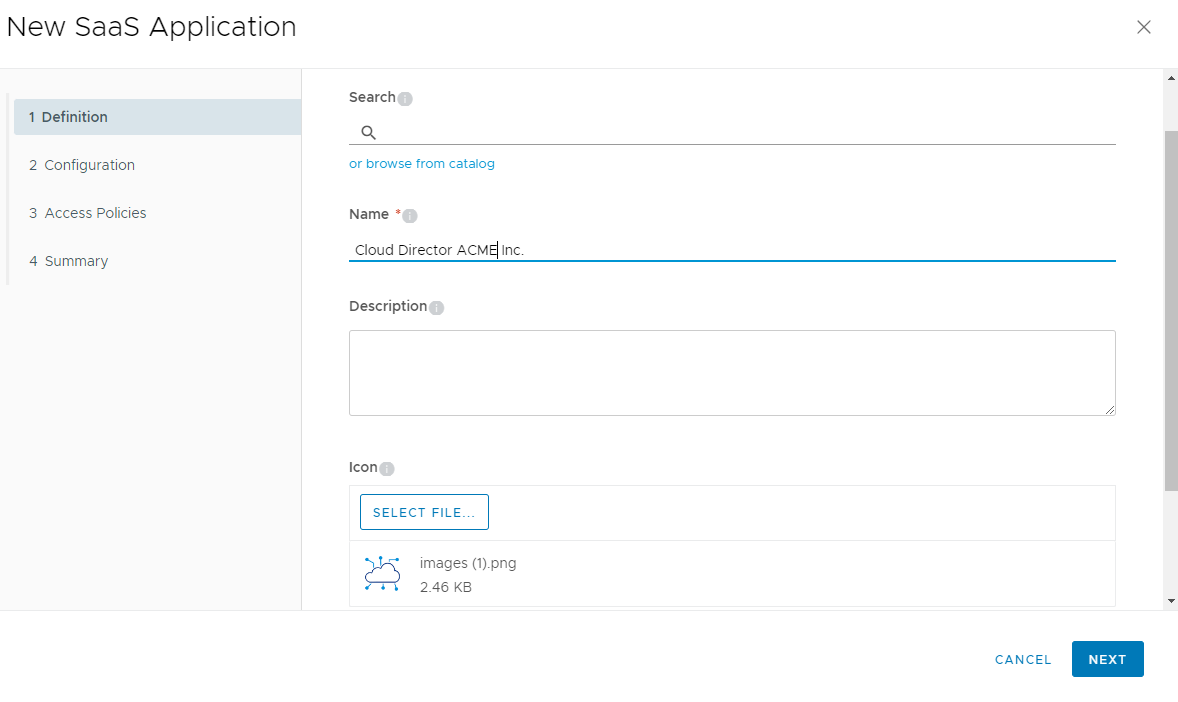
Now we move to VIDM part and after logging to admin panel we're going to Catalog -> New and starting with building new SaaS Application. We are adding Name (it will show in user portal), select Icon and click Next.
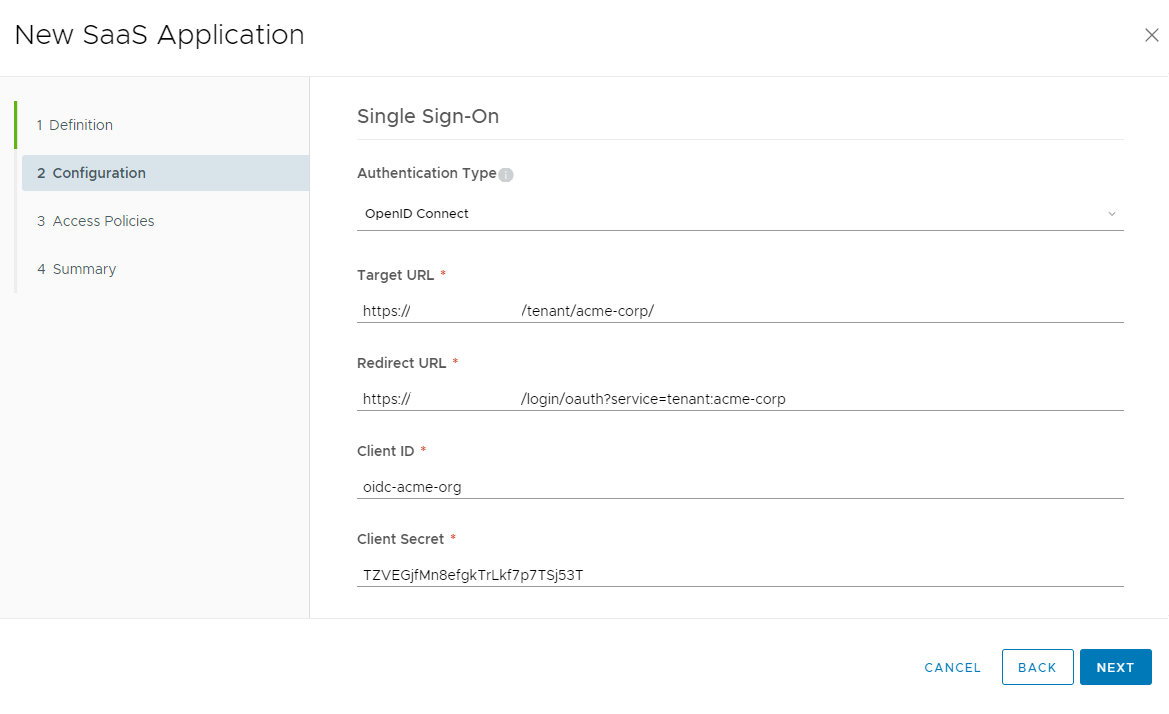
In Configuration step, we're choosing OpenID Connect as Authentication Type.
Here is an info that you need to add to fields:
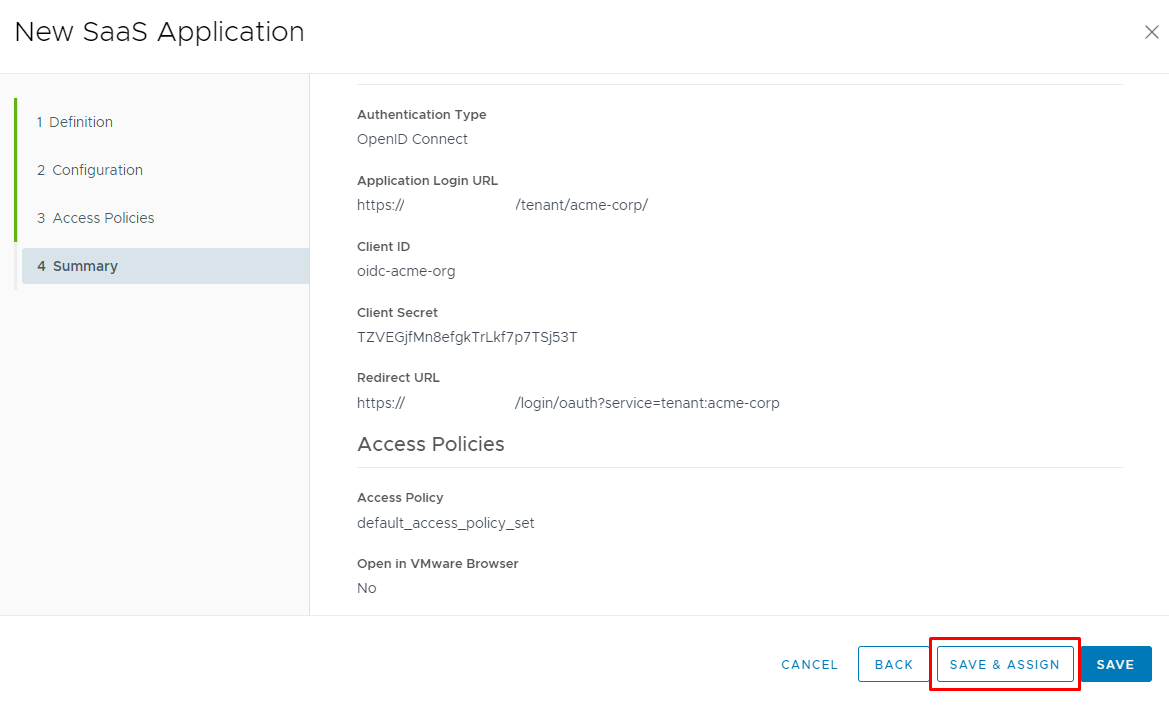
Target URL should contains URL of tenant portal withing organization: https://VCD-FQDN/tenant/acme-corp/
Redirect URL should contains URL that you've get within initial wizard of activation of OIDC:
https://VCD-FQDN/login/oauth?service=tenant:acme-corp
Client ID and Client Secret - same like in Cloud Director configuration
Access Policies can be specified as default_access_policy_set or use your custom settings.
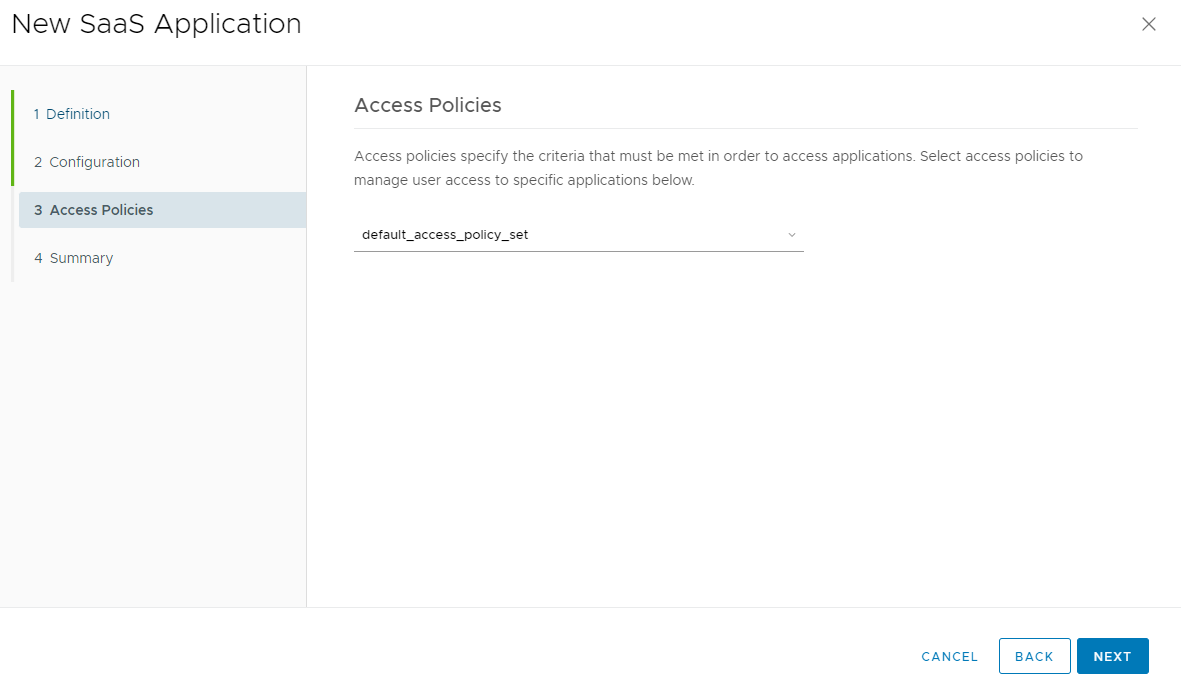
Click Next, and now we need to Assign application to Group or user with clicking on button SAVE & ASSIGN
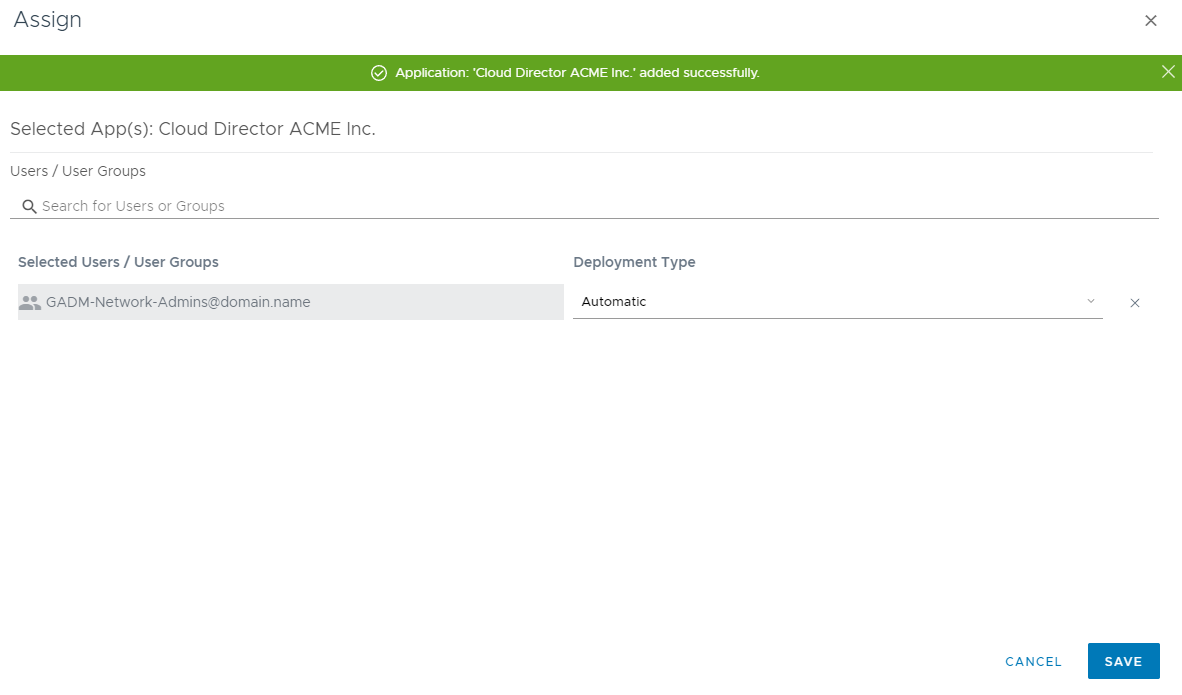
In filter type, name of User or Group that will have a new entry inside VIDM portal and choose Deployment type. In our example, we're mapping a new application to group GADM-Network-Admins@domain.name with Automatic Deployment type. Finish with clicking button Save.
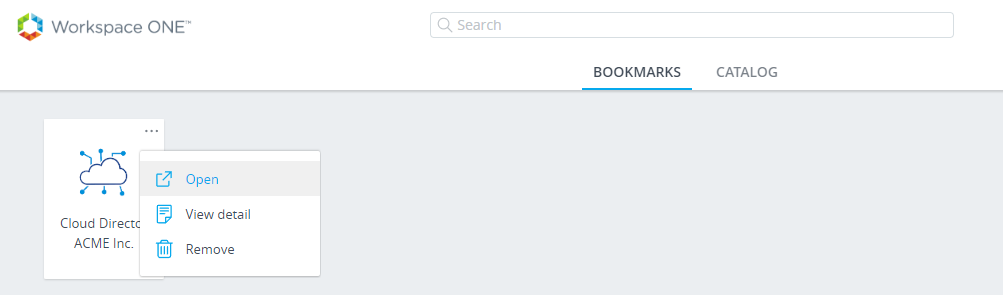
Let's test! Login as a member of group GADM-Network-Admins@domain.name to VIDM and click Open near icon of new App.
In new tab, click on Sign in with OIDC.
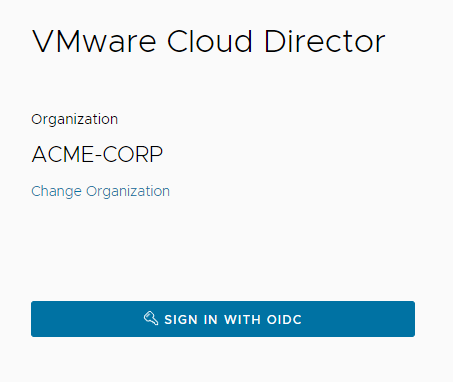
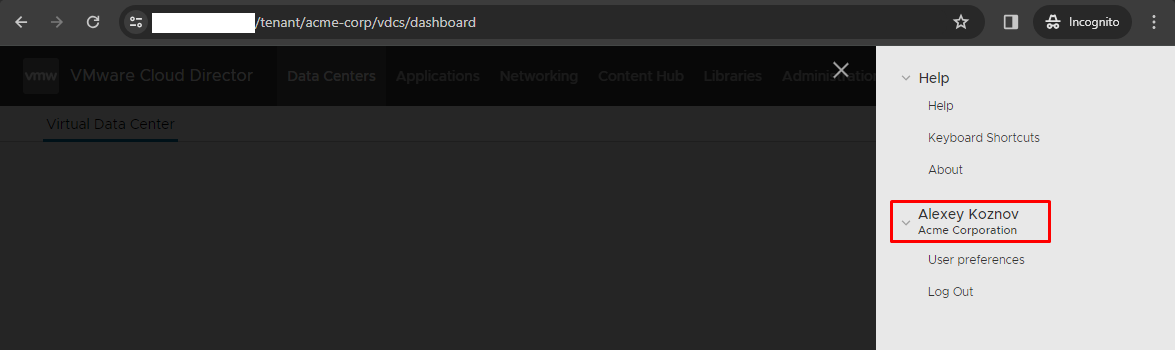
And voilà, we're successfully logged in!
If something goes wrong, you can increase the level of debugging for Authentication with changing config /opt/vmware/vcloud-director/etc/log4j.properties at every Cloud Director cell and adding those entries to the end:
log4j.logger.com.vmware.ssdc.backendbase.oauth.OIDCServiceImpl=TRACE,test.trace.logging
log4j.logger.com.vmware.ssdc.backendbase.usermanagement.OrgMemberProvider=TRACE, test.trace.logging
log4j.logger.com.vmware.vcloud.ui.h5auth.OAuthAuthenticationSuccessHandler=TRACE, test.trace.logging
log4j.appender.test.trace.logging=org.apache.log4j.RollingFileAppender
log4j.appender.test.trace.logging.File=logs/vcloud-trace.log
log4j.appender.test.trace.logging.MaxFileSize=10240KB
log4j.appender.test.trace.logging.MaxBackupIndex=9
log4j.appender.test.trace.logging.layout=com.vmware.vcloud.logging.layout.CustomPatternLayout
log4j.appender.test.trace.logging.layout.ConversionPattern=%d{ISO8601} | %-8.8p | %-25.75t | %-30.50c{1} | %m | %x%n
log4j.appender.test.trace.logging.threshold=TRACEFor additional information about configuring logging you can check official documentation.
Thanks for reading!
Comments?
Leave us your opinion.